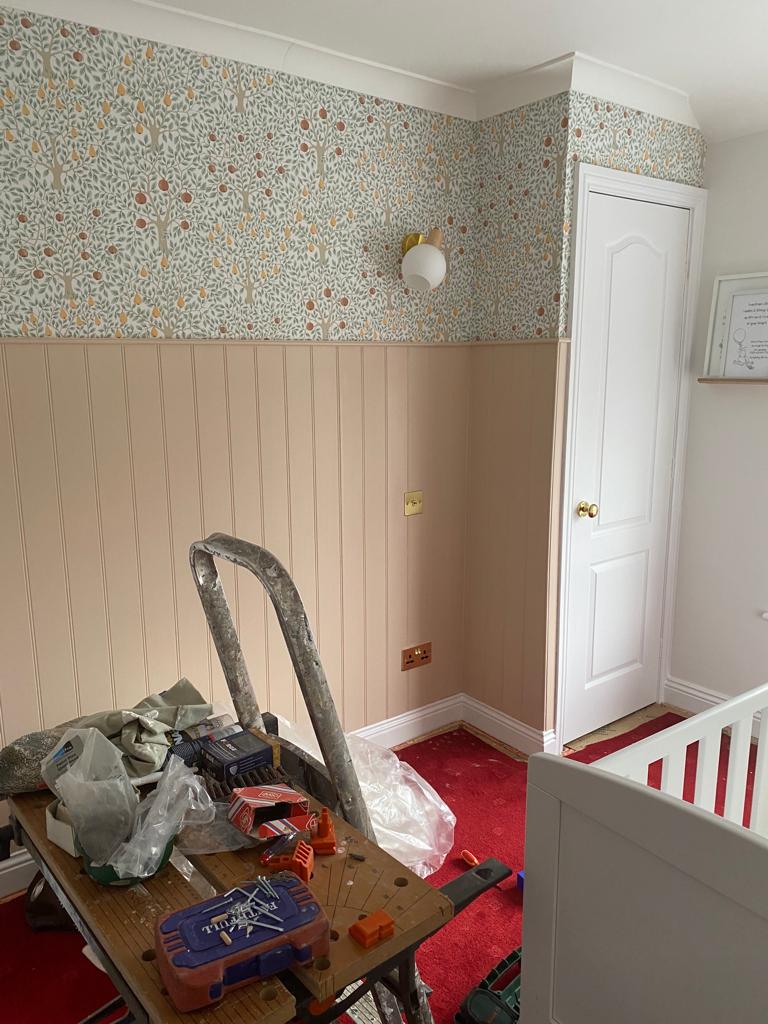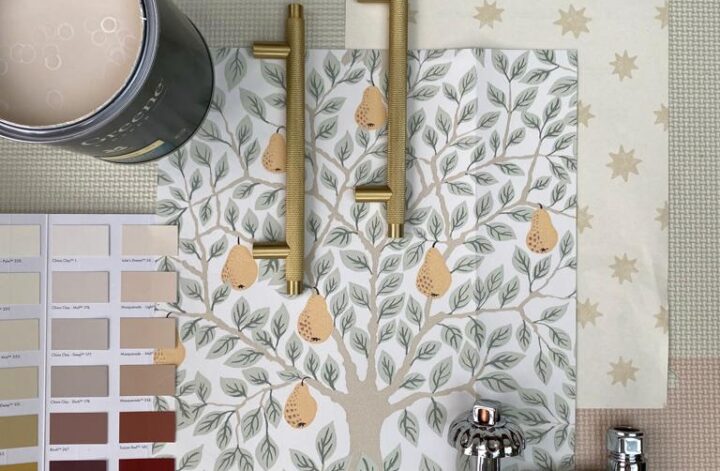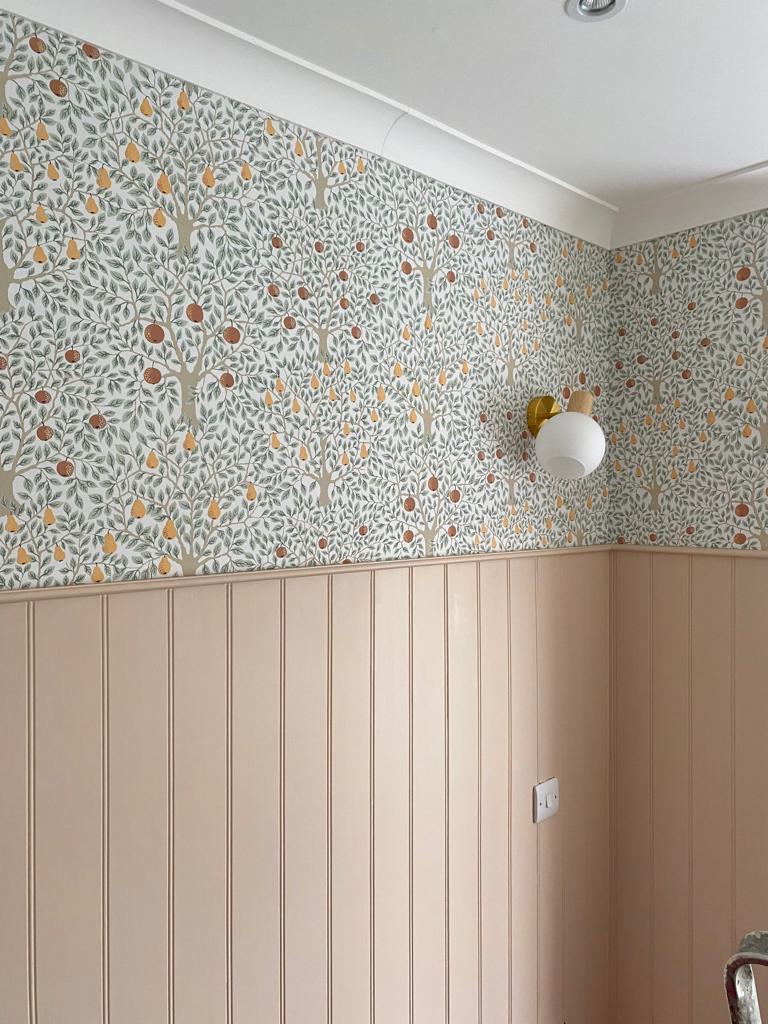
I always knew I wanted the nursery to have tongue and groove panelling on the main wall, as most of the pins I had saved on Pinterest seemed to include it! As well as it being quite ’in’ at the moment, I felt it was a feature piece that could stay and be adapted throughout the years, for example by changing the colour of the panelling and the wallpaper above, the look of the room could be completely changed if we wanted it to be in the future.
I hope you find these steps to DIY tongue and groove panelling useful!
Decisions…
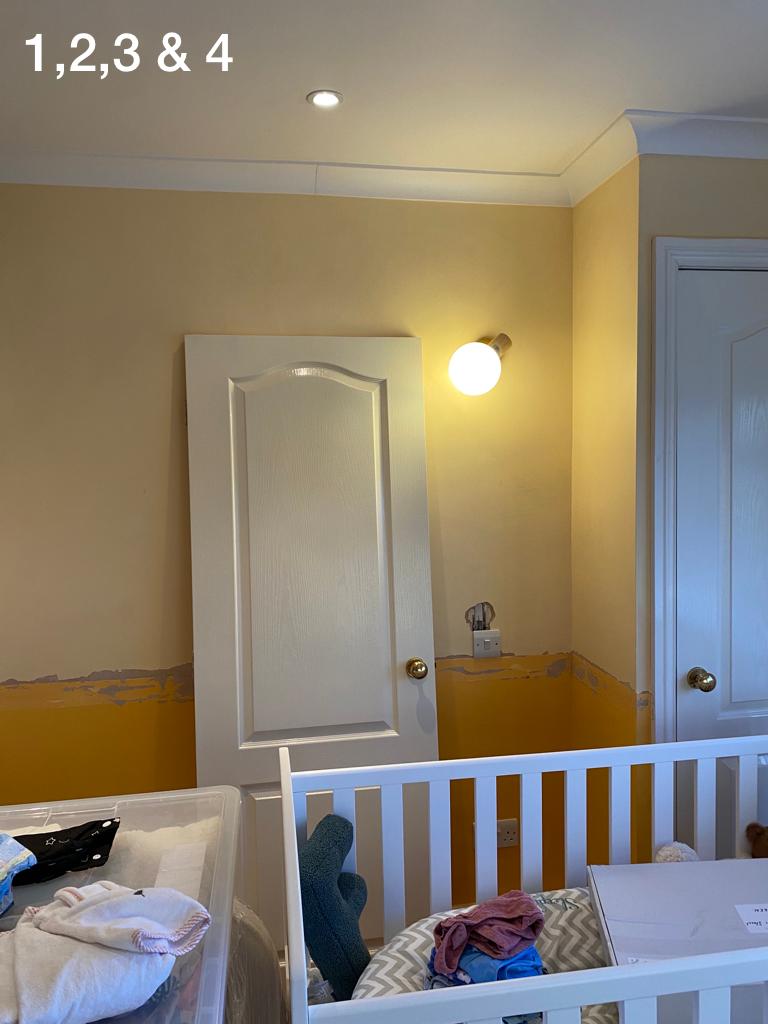
1. Before getting started on your panelling, be sure you have removed anything existing from the wall, such as screws, nails, glue, or in our case existing dado rail.
2. Check that your wall is level, luckily our wall was flat and level, however if you have a slanted wall, it is a good idea to create a frame on the wall so that your panelling can be placed onto an even surface (plenty of YouTube videos online for this).
3. Decide whether you are installing your panelling resting it on top of existing skirting board or removing the skirting and placing it back over the top of your panelling once it is installed.
4. Decide on the height you would like your panelling (remember this is affected by your choice of going on top of or behind skirting board), I wanted ours quite high as I planned on having a busy wallpaper above it, so I didn’t want the wallpaper to take up too much of the wall. You can then measure the minimum height and width you require to be able to order your panelling.
Now time to get going…
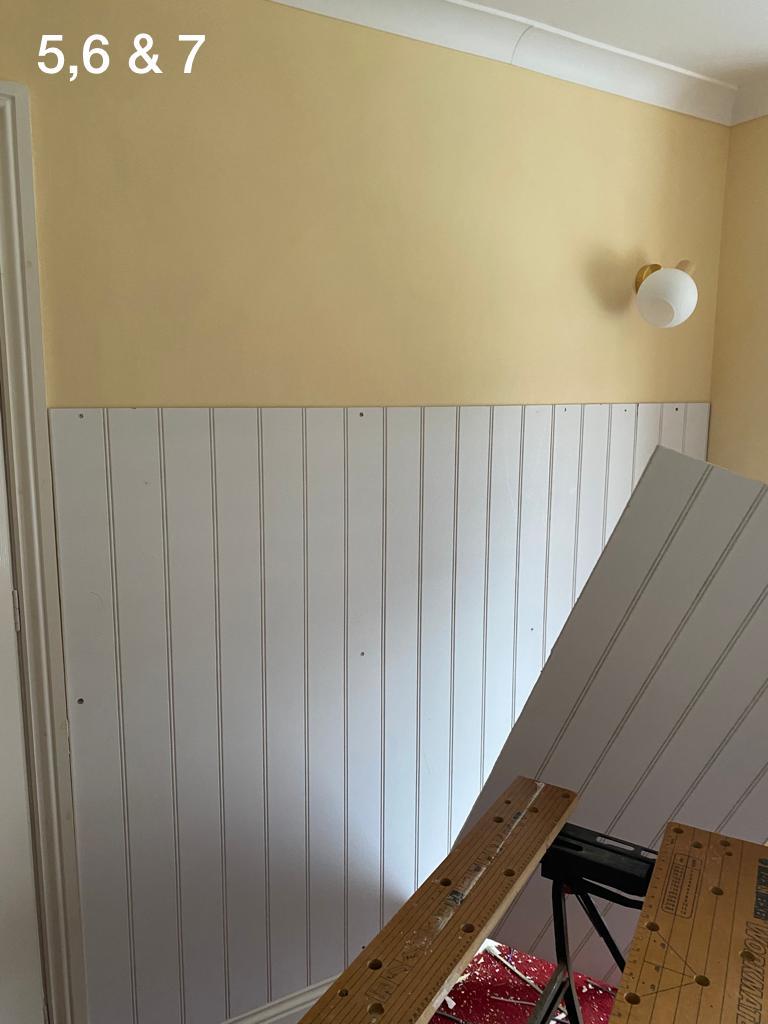
5. Time to order your panelling and beading! For the tongue and groove panelling, you can order larger sheets rather than individual slats, this is a game changer! For the beading, there are many different styles, I went for something simple as I did not want the beading to be a feature, however a deeper/flatter beading is an option if you would like to prop pictures or ornaments on it as feature pieces for a different look.
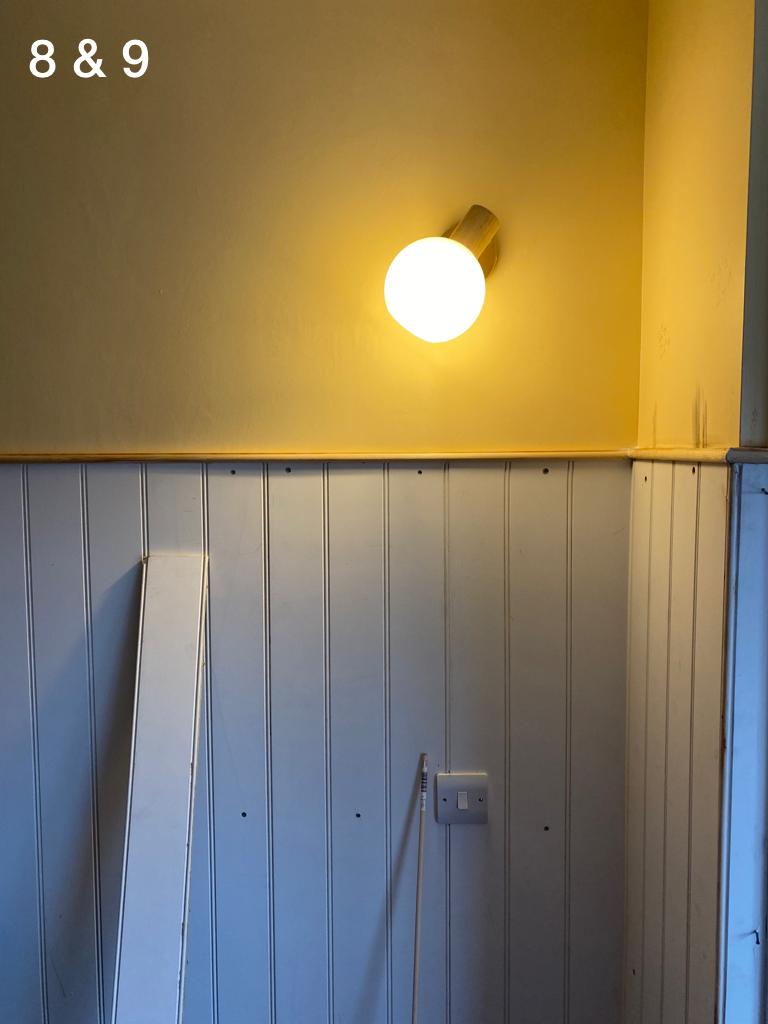
6. Once your panels arrive, it’s time to cut them to size if required, we (my father-in-law) used a hand saw, remember to also cut any holes for sockets or lighting required before installing your panelling. We used a Bosch Multi Tool to create a hole for the socket within the panel.
7. Glue (with grip fix) and then nail your panels to the wall. When joining two panels alongside one another, remember to join between panels (in the groove) to get a seamless join, you don’t want to be able to tell where panels are joined together.
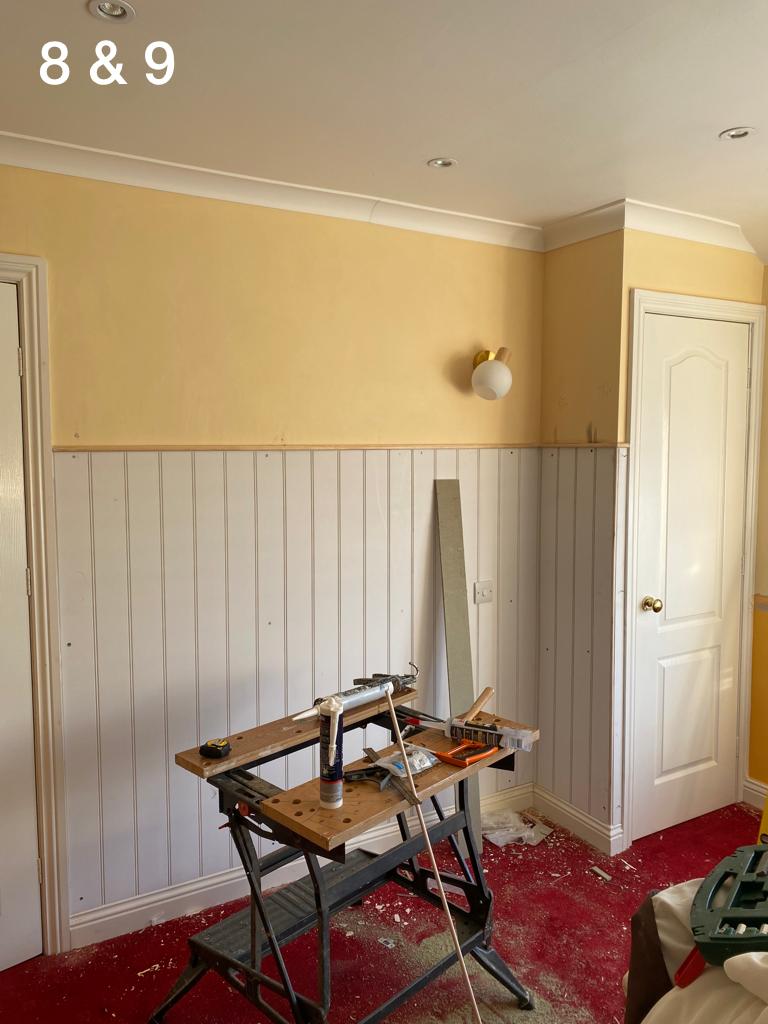
8. Cut your beading to size with a hand saw and stick to the top of your panelling, again using grip fox or wood glue, remember to cut at an angle at the ends if you are going into or around any corners so that the beading will come together.
9. Once the beading is stuck down and dried, add silicone to the top and bottom of the beading, against both the panel and the wall, also silicone against the skirting boards and the panelling, wiping off any excess with kitchen roll or a rag and leave to dry.
10. Now to prime and paint your panelling and beading, decide on a colour if you haven’t already! We chose colour ‘Masquerade, Light 332’ by The Little Greene Paint Company, this matched our shelving and added a pop of colour to the room.